/
8 mins read

TL;DR
A SaaS onboarding checklist is a structured path from signup to first value — not a feature tour script. Most fail because teams track whether users completed each step, not whether completing it moved activation, and that gap is where accounts are quietly lost. A checklist that works covers six stages: pre-signup and signup (expectation alignment, minimal friction); welcome and orientation (a defined activation event, three to five steps maximum); core feature adoption (behavioral triggers, contextual guidance at the moment of action); collaboration and team expansion (teammate invite timed after activation, not before); secondary onboarding (in-app nudges that compound adoption beyond the core use case); and measurement and iteration (step-level drop-off tracking connected to trial-to-paid conversion). This guide covers each stage with the checklist items, the activation rationale, and the metric to watch.
You built the checklist. Users start it. Then they disappear before step 3. Activation stalls, customer success fields the same questions on repeat, and the onboarding flow you shipped last quarter is quietly losing accounts you cannot see. The problem isn't having a checklist — it's not knowing which steps are failing or why.
This guide gives you a practical SaaS onboarding checklist for 2026, a framework for measuring it by step, and a way to make it adaptive — so you can close the gap between where users stall and what your product does about it. Jimo customers using behavioral triggers and step-level analytics have seen activation rates improve by over 50% within weeks of identifying their highest drop-off step.
What a SaaS Onboarding Checklist Actually Does (and Why Most Fail)
A SaaS onboarding checklist is not a feature tour script. It is a structured path from signup to first value — a sequence of steps designed to move users toward the activation behavior that predicts long-term retention. Getting that distinction right is where most teams go wrong, and it costs them accounts they never see leave.
There are two kinds of checklists in play at any SaaS company. The first is the one your users see: the in-product experience that guides them through setup, core features, and early wins. The second is the internal operational checklist your team runs to manage the rollout — what CS needs before kickoff, what sales must hand over, how implementation is sequenced. This article covers both. They break in different places, but the failure mode is the same: built once, not measured, and out of sync with the product within weeks.
The Zeigarnik Effect — and why users need to start before they can finish
Users are psychologically wired to complete unfinished tasks. A well-structured checklist uses this to its advantage: visible progress and early wins create momentum that carries users through harder steps. The catch is that the Zeigarnik effect only kicks in after engagement begins. Getting users to open and actually start the checklist is where a significant share of activation is lost before the checklist has had a single chance to run.
Completion is not activation
A user who clicks through every checklist step without performing the core activation behavior has not been onboarded. They have navigated your UI. Before you design a single step, define what "done" actually means for your product: which one behavior predicts that a user will convert from trial to paid? Every step in the checklist should lead there. If a step does not contribute to that outcome, cut it.
The static checklist trap
Most checklists are built once, reviewed quarterly, and are out of sync with the product within weeks. A UI change breaks a tooltip. A renamed feature makes step four confusing. Users drop off at steps that no longer reflect the product, and product managers do not know which step broke until CS starts fielding tickets about it. By then, the damage to the cohort is already done.
What makes a checklist actually work
Four variables separate onboarding checklists that drive activation from those that get abandoned:
Personalization by role or use case so users see a path relevant to them
Behavioral triggers that surface guidance at the moment of action rather than at login
Visible progress indicators that reinforce momentum
Iteration loop that does not require an engineering sprint to execute. The last one is where most teams get stuck.
The SaaS Onboarding Checklist: Stage-by-Stage Breakdown
What follows is the complete checklist, structured as stages rather than a flat list. Each stage names what to include, why it matters for activation, and what to measure. Use it as a starting framework, then adapt it to your product's specific activation path. The teams that get this right are not the ones with the longest checklists — they are the ones who know exactly which steps make or break their conversion rate.
Stage 1: Pre-Signup and Signup
The SaaS onboarding checklist has not started yet, but activation is already at risk. Users arrive from an ad, a review site, or a referral with a specific expectation of what your product does. When the first in-product experience does not match that expectation, they disengage before the checklist ever loads.
Consider the following:
Align your landing page messaging with the first in-product screen. The promise that drove the signup should be visible and felt within the first 30 seconds of the product experience.
Keep signup friction low — aim for three fields or fewer, because every additional field costs you conversion measurably, not marginally.
Capture user intent with one qualifying question at signup: role, use case, or team size. That single signal is what lets you personalize the onboarding flow downstream without adding friction upfront.
If your product takes 10 minutes to configure before it delivers value, say so. Users who know what to expect drop off less.
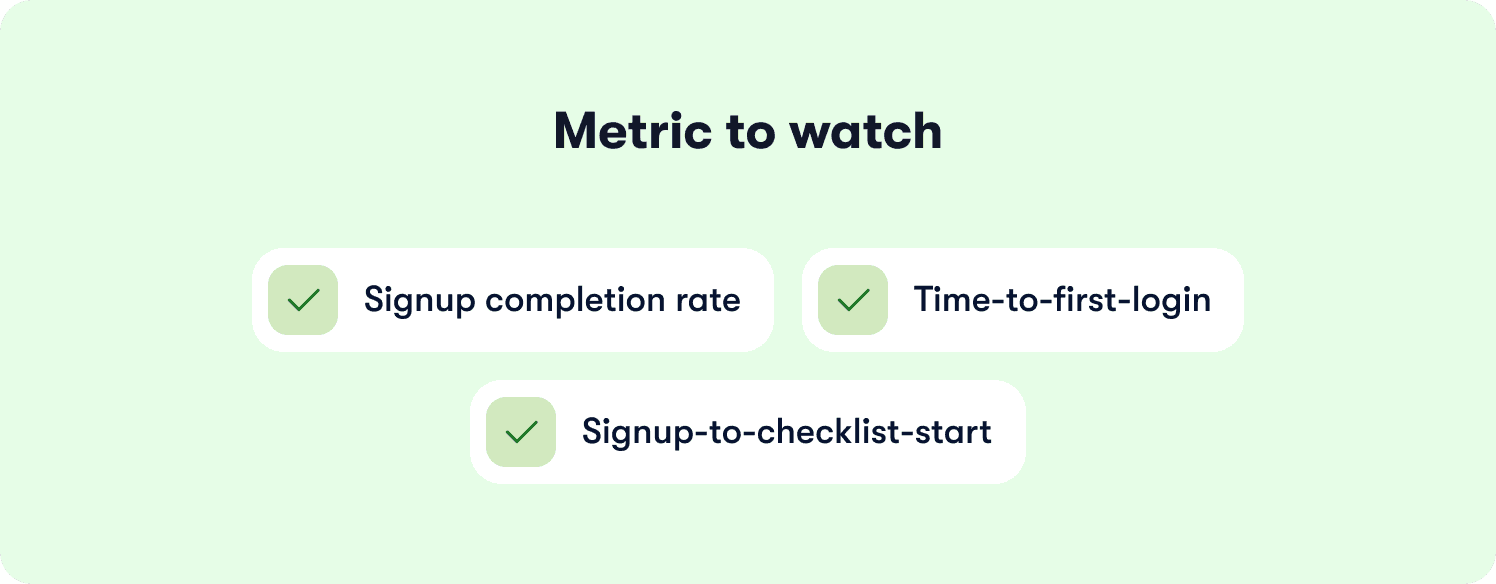
Stage 2: Welcome and First Session Orientation
The first session is where most checklists are won or lost. Users arrive with intent and limited patience. The job here is to show them the path to their activation event before they decide the product is too much effort.
Define your activation event before you build the welcome flow. The "aha moment" the checklist is designed to reach needs to be specific and named — not "users understand the product" but "user has created their first active tour" or "user has connected their first integration." Personalize the welcome flow using the intent signal captured at signup.

A Product Manager evaluating onboarding analytics should see a different first step than a CS lead evaluating ticket deflection. Launch with a short checklist of three to five items maximum — long checklists are abandoned before they start. Unlock additional steps progressively as users complete core activation tasks, so the list always feels achievable rather than overwhelming.
Celebrate early wins with progress indicators and visible acknowledgment of step completion, because that momentum compounds across the steps that follow.
Stage 3: Core Feature Adoption
This is the highest-leverage stage, and the most commonly broken one. The steps here should map to activation behaviors, not feature explanations.
"Invite a teammate" is an activation step. "Here is how to invite a teammate" is a tooltip. Both have a role, but they are not the same thing, and confusing them is one of the most common reasons this stage loses users.
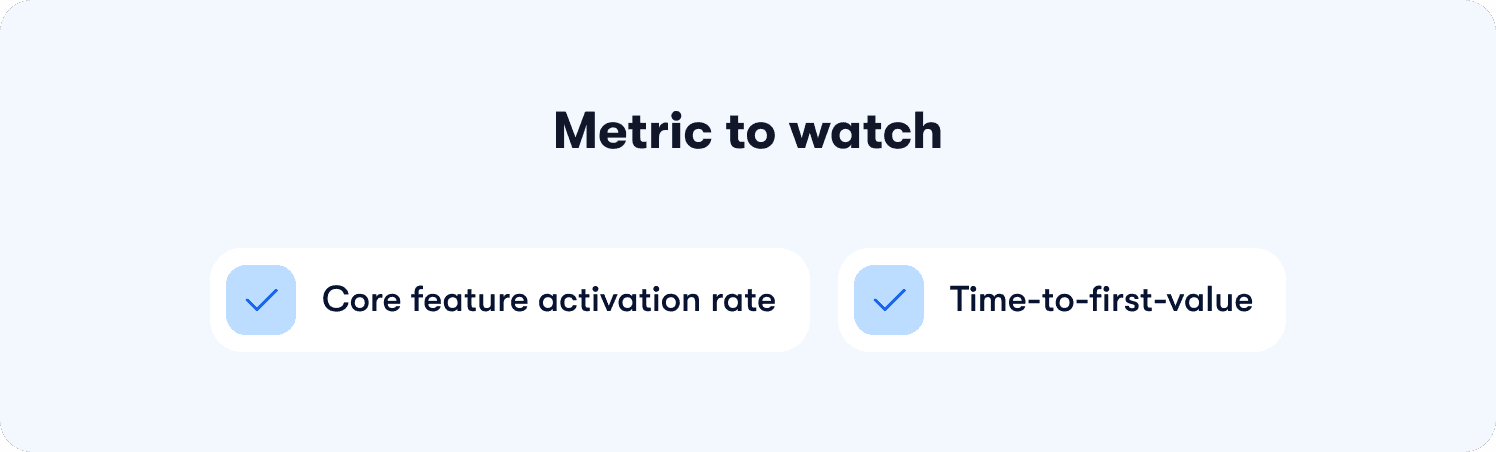
Map each checklist step to a specific activation behavior. If a step does not require the user to do something that moves activation, it does not belong here. Use behavioral triggers to surface guided tours and contextual hints when the user reaches the relevant screen or completes a prerequisite step, not at login.
Pair the checklist with contextual guidance for steps that require explanation — the checklist gives direction, the tour provides the how. Keep this stage short: three to four activation behaviors, nothing more. Complexity at this stage is the single biggest driver of drop-off.
Jimo's action-based tour logic auto-progresses only when users perform the real activation behavior — not when they click 'Next.' That distinction is what separates near-100% step completion from guided tours users skip through without engaging.
Stage 4: Collaboration and Team Expansion
In B2B SaaS, the teammate invite is often the highest-value single action in the entire onboarding flow. It signals intent, creates switching cost, and expands the account. It is also the step most teams surface too early — at signup, before the user has experienced enough product value to feel motivated to bring anyone else in.
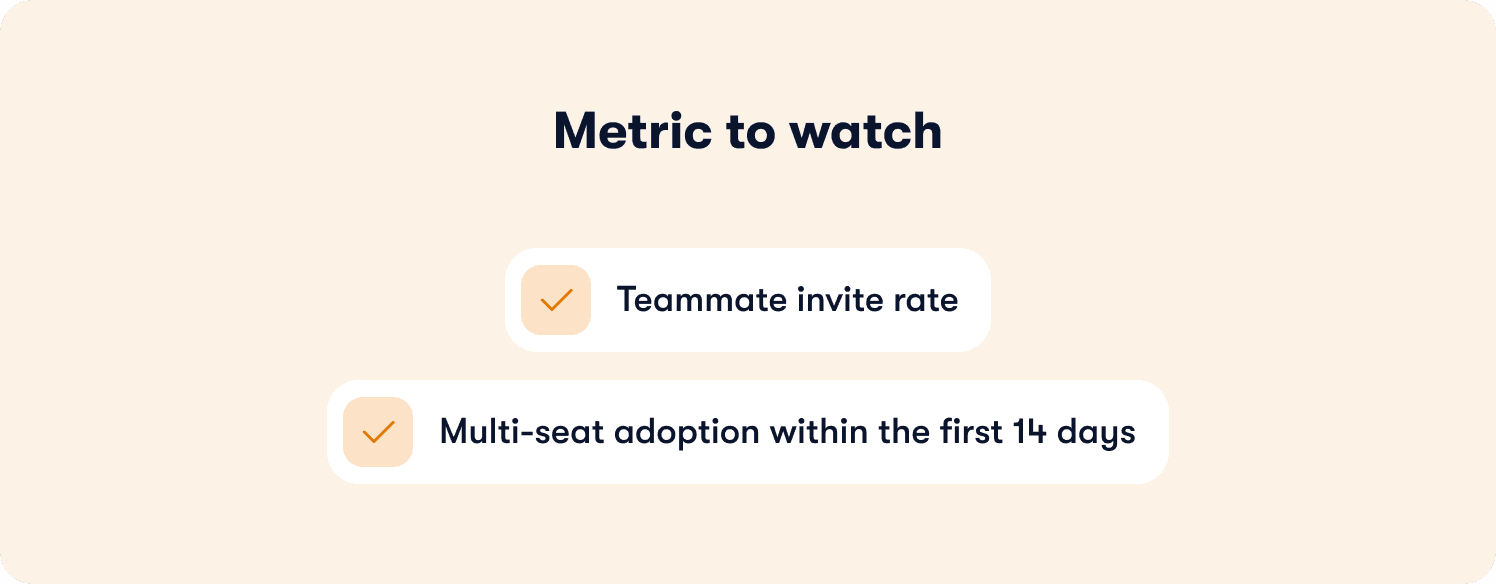
Trigger the teammate invite after core activation, not before. The moment to surface it is after the user has completed the activation behavior and has something worth sharing. Reduce friction with pre-written invite messaging — a pre-populated Slack message or email draft removes the blank-page problem and increases send rate. Treat multi-seat adoption as retention infrastructure, not a nice-to-have. Accounts with three or more active users churn at a fraction of the rate of single-user accounts.
Stage 5: Secondary Onboarding and Feature Discovery
Onboarding does not end at activation. Users who activate on the core use case still need to discover adjacent features that increase retention and drive expansion. Most teams lose this opportunity to email blasts that go unread and changelog updates that go unnoticed.
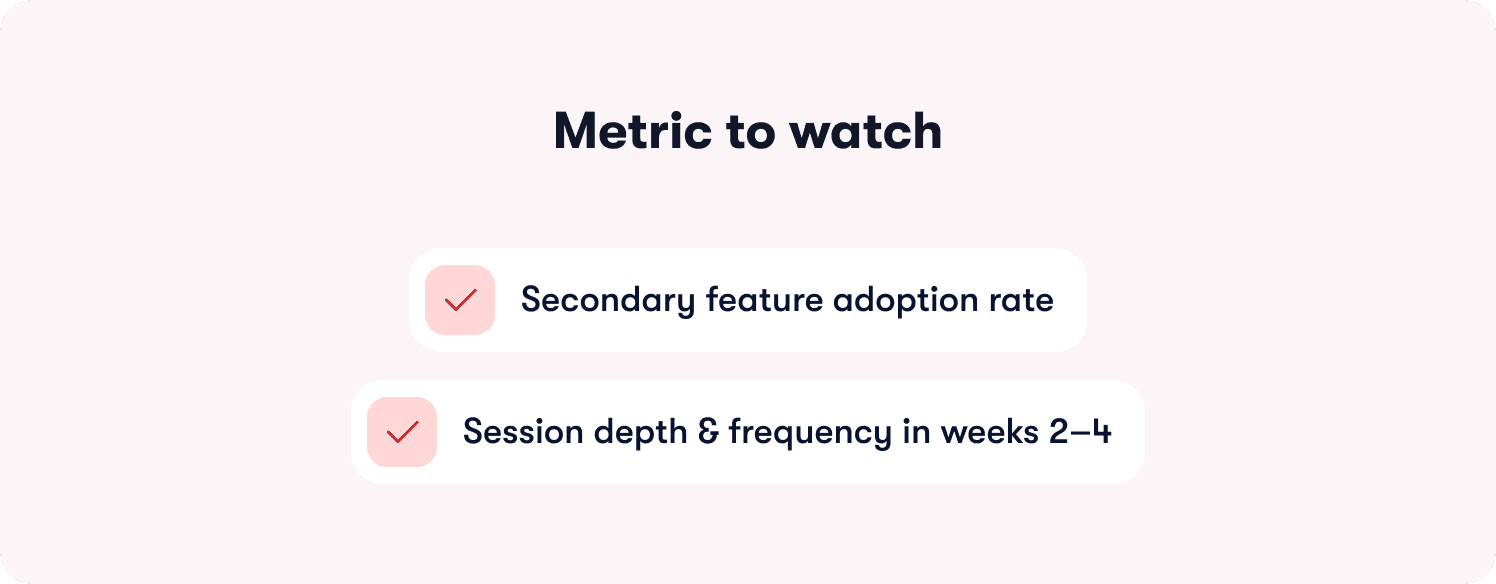
Surface new features inside the product, at the moment they are relevant to what the user is already doing. Structure secondary onboarding as a continuation of the original checklist rather than a separate enrollment — unlock new stages progressively as users advance, so it feels like a natural next chapter.
Target secondary onboarding by behavior: a user who has used the core feature ten times in their first week is a different audience than a user who completed the checklist but has not logged in since. Treat them differently.
Stage 6: Measurement and Iteration
This is the stage most teams skip, and it is exactly why their checklists do not improve. Tracking checklist completion as a single percentage tells you nothing about which step broke. Step-level data tells you exactly where to focus and what to fix first.
Define which checklist steps correlate with trial-to-paid conversion — those are the steps to protect, A/B test, and optimize before anything else. Track completion rate by step, not just overall. A drop-off spike at step three means step three is broken, not the whole flow. Connect checklist completion events to your analytics stack so that cohort data is available without manual reporting.
Segment users by completion level: completed all steps, completed steps one through three only, opened the checklist but completed nothing. The activation rate gap between those cohorts tells you the ROI of closing the drop-off.
After each iteration, calculate the lift: users who completed the updated step had X% higher activation. Always note sample size and time window — a week-one cohort is not the same as a week-four cohort.
How to Make Your Onboarding Checklist Adaptive (Not Just a Static List)
Everything covered above describes what a high-performing checklist should contain. This section addresses what happens when the product changes, drop-off spikes, and you need to fix it this week, not next sprint.
The Static Checklist Problem, in Detail
Most teams build checklists in a DAP, ship them, and revisit them quarterly. Between updates, users drop off at steps that no longer match the product. A renamed button breaks a tour step. A restructured nav sends users to the wrong screen. Nobody knows which step broke until CS starts fielding tickets about it. By the time the fix is scoped, prioritized, and shipped, the damage to the activation cohort is already done. The teams with the fastest iteration cycles are not the ones who write better tickets. They are the ones who do not need to write tickets at all.
What "Adaptive" Means in Practice
An adaptive onboarding system does three things a static checklist cannot. It shows you where users stall, by step, in real time rather than in a quarterly review. It lets you deploy targeted guidance at that exact step without opening an engineering ticket. And it makes tour creation fast enough that iteration is no longer a project.
That last point matters more than most teams realize. One of the biggest reasons onboarding checklists go stale is that updating them feels expensive. When building or rebuilding a tour requires manually configuring every step, trigger, and progression rule from scratch, teams delay.
The question worth asking of any platform you evaluate is whether it can generate tour structure, steps, triggers, and logic automatically from a single recorded flow — or whether every update means starting over. That gap in creation speed is what separates teams who iterate weekly from teams who iterate quarterly.
AB Tasty experienced this directly. Their team was running a three-month onboarding cycle that required significant manual effort to maintain and update. By moving to an adaptive onboarding system, they compressed that cycle to two weeks — without adding headcount or engineering resources. Read the full AB Tasty journey with Jimo.
Where Completion Rates Actually Come From
Most onboarding tools move users through a checklist by asking them to click Next. Users comply, reach the end, and have not actually done anything. Completion looks fine in the dashboard. Activation does not move.
The difference between a tour that drives activation and one that inflates completion rates is whether users are learning by doing or learning by watching. Engagement mechanics borrowed from game design (cursor animations, interactive highlights, guided actions that require real in-product behavior rather than passive clicks) consistently outperform linear walkthroughs on completion and activation. The tools that apply these mechanics report completion rates up to 40% higher than traditional product tour tools. That is not cosmetic. That is what separates a checklist that closes the trial-to-paid gap from one that looks healthy in reporting while quietly failing in the product.
The Design Problem Nobody Talks About
There is a second reason onboarding checklists drift out of sync with the product that rarely gets discussed: rebuilding tours to match a redesigned UI is its own implementation project in most tools. Template-locked builders, CSS-dependent customization, and rigid editors mean that a product redesign does not just require engineering time in the product — it requires engineering time in the onboarding tool too. That doubles the cost of every release.
The standard worth holding any onboarding platform to is whether a PM can drag, resize, style, and reposition tour elements to match a UI update in the same session they noticed the mismatch — without writing CSS or filing a ticket. When that bar is met, tours stop drifting. When it is not, checklists are always one release behind the product they are supposed to be guiding users through.
Zenchef faced a version of this problem at scale. Onboarding users across five languages meant that any checklist update needed to propagate across multiple localized flows simultaneously. A manual process made that unsustainable. By adopting an adaptive approach, Zenchef cut onboarding time in half and maintained consistency across all five languages without rebuilding flows from scratch with each release. Read the full Zenchef user onboarding experience.
The Concrete PM Outcome
A PM who can see drop-off by step on Monday, deploy a targeted fix on Tuesday, and measure the activation lift by Thursday has a fundamentally different onboarding operation than one waiting on a sprint. That speed is not a workflow improvement. It is the difference between onboarding that compounds and onboarding that stagnates. The platform you choose either enables that cycle or it does not.
📖 Checklists don’t drive activation. Tactics do! Get 19 proven onboarding tactics → Get all our insights with our free guide
B2B SaaS Onboarding Checklist: What Changes for Enterprise and Multi-Seat Accounts
The stage-by-stage framework above is built for self-serve and product-led onboarding. Enterprise and multi-seat accounts add complexity that most onboarding guides skip entirely: multiple stakeholders, a sales-to-CS handoff that can make or break the first 30 days, and role-based flows that need to coexist without requiring five separate implementations.
Role-Based Onboarding Flows
An admin configuring the product for their team needs a different checklist than an end user activating their own account. The admin needs to complete workspace setup, invite teammates, and configure permissions before individual users can even begin. Deploying segment-specific flows for each role — without building them from scratch — is the bar any enterprise-ready onboarding platform needs to clear. If it cannot, the alternative is either one generic flow that serves nobody well or a separate implementation for every persona, which compounds maintenance cost with every product update. Explore user segmentation for role-based flows.
The Sales-to-CS Handoff Checklist
Before customer onboarding begins, the CS team needs to know what the sales team sold: customer goals, account size, key use case, technical requirements, and any commitments made during the sales process. This internal operational checklist is where onboarding either starts strong or spends its first two weeks recovering from misaligned expectations. A clean handoff document — owned by the CS lead and updated at close — is not optional for accounts above a certain ARR threshold. It is the foundation everything else runs on.
Multi-Stakeholder Alignment
In enterprise accounts, different internal stakeholders need to see different aspects of the product during onboarding. The CS lead, IT, finance, and individual end users are evaluating the product through entirely different lenses. An onboarding flow that routes each stakeholder to a relevant path — without requiring a separate session for each function — reduces coordination overhead and keeps momentum from stalling during the implementation phase.
High-Touch Versus Low-Touch: Knowing Which Model Applies
For accounts above a certain ARR threshold, a white-glove onboarding approach replaces the self-serve checklist: a kickoff call, a dedicated CSM, and a custom implementation plan. The self-serve framework in this guide applies up to that threshold. For high-touch accounts, the checklist becomes an internal CS tool tracking what the CSM has completed rather than what the user has done autonomously. Knowing which model applies before onboarding begins is itself a decision that belongs in the sales-to-CS handoff.
SaaS Onboarding Checklist Metrics: What to Track and How
Most onboarding measurement stops at overall completion rate. That number tells you whether users finished the checklist. It tells you nothing about which step caused them to stop, which steps correlate with paid conversion, or whether the cohort that completed the checklist actually activated at a higher rate than the one that did not. Here is the measurement framework that closes those gaps.
Step 1: Define Your Activation Event First
Before you build the checklist, name the one behavior that predicts a user will convert from trial to paid. Every step in the checklist should lead there. If you cannot name the activation event, the checklist has no target and the measurement plan has no anchor.
Step 2: Set a Baseline Before You Launch
Capture your current state before the checklist goes live: overall activation rate, trial-to-paid conversion rate, time-to-first-value, and support ticket volume per new account. Without a baseline, you cannot measure lift — and without lift data, you cannot justify iteration investment to the rest of the business.
Step 3: Track Step-Level Completion Rates
Identify the step where drop-off spikes. That step is your highest-priority optimization target. A 20% drop-off at step three is a step three problem, not a flow problem. Aggregate completion rate obscures this. Step-level data surfaces it immediately. Use actionable onboarding reports to track this without building a custom dashboard.
Step 4: Segment by Completion Level
Completed all steps. Completed steps one through three only. Opened the checklist but completed nothing. Compare activation rates across these cohorts. The gap between them is the measurable ROI of closing the drop-off — and it is the number that makes the case for investing in onboarding iteration.
Step 5: Connect Checklist Events to Your Analytics Stack
Checklist completion events should fire into the same analytics environment where you track activation and retention. If those data sets live in separate tools, connecting onboarding performance to downstream revenue outcomes requires manual work that most teams deprioritize. The right setup makes that connection automatic. See how Jimo's Success Tracker connects checklist events to activation data natively.
Step 6: Calculate Lift After Every Iteration
After each change, measure the outcome: users who completed the updated step had X% higher activation rate than users who encountered the previous version. Always note sample size and time window. A week-one cohort behaves differently from a week-four cohort, and conflating them produces conclusions that send optimization in the wrong direction.
Your Onboarding Checklist Is Only as Good as What You Do After It Ships
Most onboarding checklists fail quietly. Your users drop off at step three, your CS team bridges the gap, and you schedule a review for next quarter. By then, another cohort has churned. The problem was never the checklist. It was the absence of a closed loop between where users stall and what your product does about it.
You now have three things to act on. Build or rebuild your onboarding checklist using the stage-by-stage framework above, mapping each step to an activation behavior with a metric attached from day one. Attach a measurement plan before you ship: define your activation event, set a baseline, and track completion by step rather than in aggregate. Then close the loop — connect where your users stall to a mechanism that deploys targeted guidance at that exact moment, without waiting on a sprint to make it happen.
If you can see the activation problem in your data but cannot fix it fast enough, the next step is seeing what an adaptive onboarding system looks like in practice. Walk through how Jimo builds, measures, and iterates your onboarding checklist without engineering dependency.
FAQ
Why do users drop off from onboarding checklists even when they complete every step?
Because completion and activation are not the same thing. A user who clicks through every checklist step without performing the core activation behavior has navigated your UI, not adopted your product. The most common cause is checklist steps mapped to feature explanations rather than activation behaviors — users follow the path, reach the end, and have no meaningful habit formed. If your completion rate looks healthy but activation does not move, the steps themselves are the problem, not the length of the checklist.
How do you know which checklist step is causing drop-off without running a full analytics audit?
Track step-level completion rates, not aggregate completion. A spike in drop-off at a specific step tells you exactly where to look — no audit required. If step three consistently loses 25% of users, step three is broken. It might be a UI mismatch, a step that asks for too much too soon, or a trigger firing at the wrong moment. The fix starts with isolating the step, not rethinking the whole flow.
When should you use progressive checklists versus showing users everything upfront?
Almost always use progressive disclosure. A checklist that shows eight steps at once signals effort before value, and most users will not start it. Showing three to five steps, then unlocking the next stage after core activation, keeps the checklist feeling achievable at every point. The exception is power users who arrive with high intent and specific goals — for that segment, a fuller view can accelerate time-to-value rather than overwhelm.
How do you onboard multiple stakeholders in a B2B account without building separate flows for each?
Capture role or use case at signup and use that signal to branch the onboarding experience from the first session. An admin and an end user should never see the same step one. The branching does not need to be complex — a single qualifying question at signup is enough to route each stakeholder to a relevant path without building five separate sequences from scratch. The goal is relevance, not personalization for its own sake.
How often should a SaaS onboarding checklist be updated, and what should trigger a review?
A product release that changes any UI element referenced in a checklist step should trigger an immediate review of that step, not a quarterly audit. Beyond release-driven updates, review your checklist whenever step-level drop-off shifts by more than 10 percentage points, when a new user segment enters the funnel with different intent, or when trial-to-paid conversion drops without an obvious acquisition explanation. Quarterly reviews are a symptom of a tool that makes iteration expensive — when updating a step takes minutes, you stop scheduling reviews and start responding in real time.


